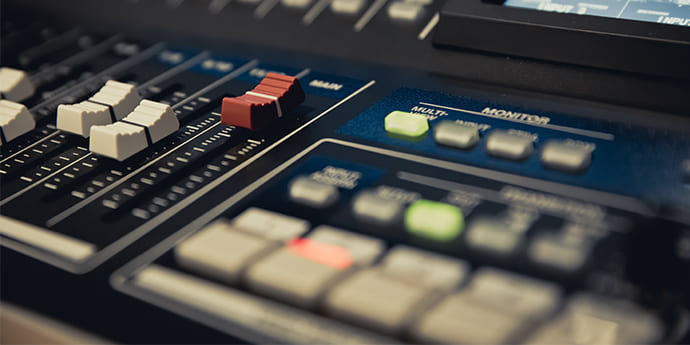
When it comes to audio mixing techniques, there are a few things every great producer needs to know. You might have heard of what seems like an endless list of audio mixing techniques – compression, EQ, saturation, reverb, delay, and so on and so forth.

You have probably done an excellent job recording your songs (If you used the advice in this post, you should be doing well). And at this point, it’s time to mix your music. At times, audio mixing techniques might seem to be overpowering. If you are not cautious, you might spend hours going from one tune to another with no clear purpose, wasting your time and attention.
10 Best Audio Mixing Tips and Tricks
Here are the top 10 audio mixing and mastering tips and tricks:
1. Mix Preparation: Use Groups and Busses
Sort the tracks when you first start your project. If your tracks are disorganized, you won’t be able to tell which one you worked on, and you’ll waste time scrolling up and down seeking your Electric Guitar Solo track.
Then, make subgroups and properly route your tracks. Make a DRUMS bus, a GUITARS bus, a VOCALS bus, and so on. This allows you to streamline your mix, control the volume of many tracks with a single fader, and apply EQ and audio compression techniques to all tracks at once if desired.
2. Get A Great Static Mix
Setting levels is the most important aspect of mixing EQ, compression, reverb, and effects are just polishing and fine-tuning tools. Setting the appropriate levels is crucial for the final mix’s quality.
You must be able to hear all of the instruments while also giving each one space because not all instruments are equally significant.
Experiment with simply the volume faders to find a suitable balance between the instruments. Don’t use any plugins or touch any panning knobs. There are only volume faders. This is true core mixing at its finest.
3. Apply EQ to Get Clarity
You should utilize EQ to achieve clarity and separation. If two instruments compete for the same frequency range, EQ can help them work effectively together.
A well-executed cut in a less significant instrument in that frequency range can go a long way toward making room for others. If you don’t know how to EQ well, the easiest and safest option is to utilize a High Pass Filter.
The bass and drums should take up most of the low end of your mix. The other instruments don’t contain a lot of low-end information, but they do have some, which might mount up and make your mix seem muddy if you’re not cautious.
4. Apply Compression to Get Punch
With EQ, compression is one of your most powerful tools. A compressor equalizes the volume of your songs. It lowers peaks and raises the quietest areas. Compress your drums to fatten them up and make them punchier.
Use a slow strike if you want them to snap, or a rapid assault if you want them to be plump. Another method is to transmit a duplicate of the drums to another bus, compress it, and then blend the compressed drums with the original (uncompressed or minimally compressed) to obtain the best of both worlds. Compress your bass audio recording to soften the assault and provide additional sustain and weight.
5. Apply Additive EQ
Additive EQing – we focus only on adding up the missing frequencies. But which frequencies are missing? This is up to you. Just trust your ears, your musical taste, and what feels natural to you.
Professionals mixing engineers often add a boost of around 3khz, as this is the area our ears are most sensitive to. Boosting to around 300-500Hz can add “warmth” to your sound if that’s what you want. Another way is to add a boost above 7khz to add some “air”.
6. Apply Saturation
This progression is optional. Few out of every odd sound will require saturation. Also, in fact on certain sounds, this might sound awful.
Why?
Since saturation will add frequencies, you might have previously added. In any case, a few makers swear that “it could color a track in a charming manner”, so my tip is: experimentation. You will see on the off chance whether saturation sounds great on your audio material or not. Nevertheless, do not get out of hand. This can totally wreck the sound assuming you treat it terribly.
7. Stereo Image
You might have heard that it is essential to set the sound’s situation in the stereo image, and that is correct.
By isolating them from one another, you give them more space to “relax” and a superior stereo image to your audience, making it more straightforward for him/her to limit single sounds in your track.
8. Reverb & Delay
Reverb and Delay are creative effects. They aren’t required without fail, particularly the deferral.
Be cautious with it: utilized repeatedly, the postponement could overlay with different deferrals, and this will sound “sludgy”. The same goes with reverb – utilized excessively solid or with a larger than usual rot, it will make your melody sloppy.
9. Simple Mixing Gets the Job Done
This is my method of audio mixing techniques. Every mix engineer approaches things differently, and I’d love to hear how YOU mix. Tell me if there are any distinctions, similarities, or if you just disagree with me on that.
10. Volume
Finally, review the volume of your sound. You might see that it is a lot stronger now, with every one of the impacts on it, than it was the point at which it was dry. So, ensure you check if the volume is OK in setting or on the other hand assuming it is excessively clear.
Conclusion: Audio Mixing Techniques
We hope you’ve found these audio mixing techniques and tips useful! If we missed anything, do let us know in the comment section below. You can also pick the music production for yourself.
If you find this blog helpful, you can read more about how to become a beatmaker and how to find a music producer?


